Crimping, the iconic hair styling trend of the 1980s and 90s characterized by small, zigzag ridges, has made a massive comeback in modern fashion. Far from the uniform, frizzy look of the past, today's crimping is all about adding subtle texture, creating massive root volume, and building unique, structured hairstyles. From high-fashion runways to wedding stages and college campuses, crimped hair is being embraced in modern, sophisticated ways.
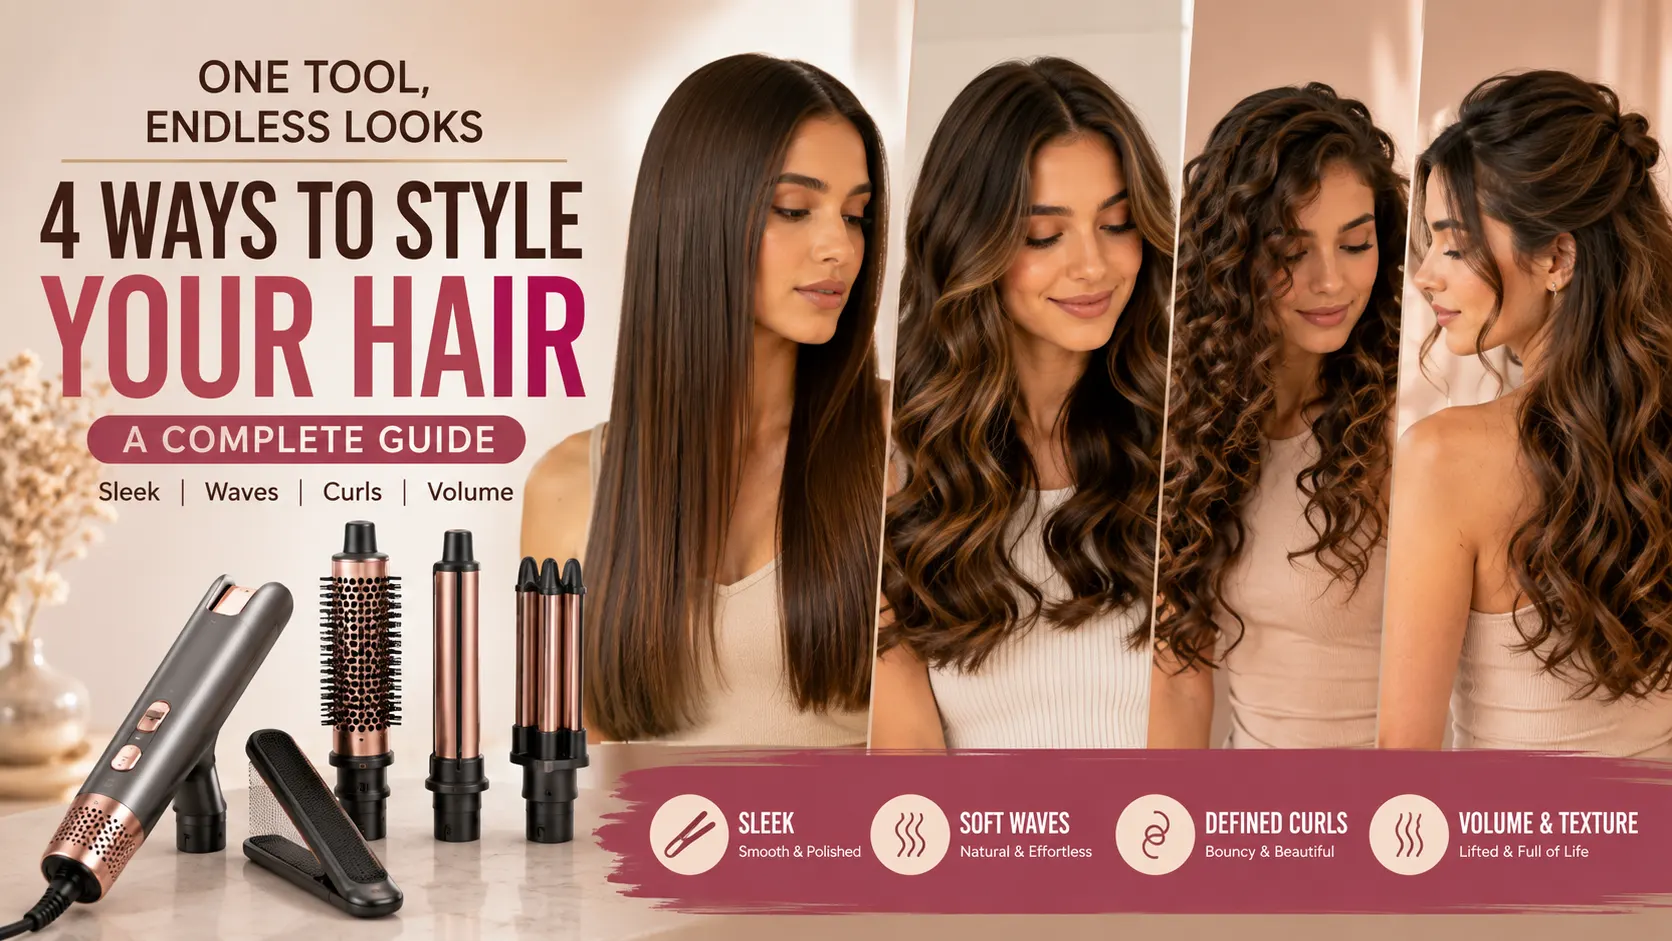
If you want to add a unique texture to your hair or elevate your festive look, learning how to crimp hair at home is a great skill. In this article, we will guide you through the process of prepping and crimping your hair safely, introduce the best tool for the job—the Permperfect Multistyler 4-in-1 Hair Styler—and share 5 trendy crimped hairstyles to try this season.
Prepping Your Hair for Crimping
Crimping involves applying direct heat to the hair, which can cause damage if the hair is not properly prepared. Follow this simple prep routine:
- Wash and Hydrate: Cleanse your hair with a hydrating, sulfate-free shampoo. Follow with a rich conditioner or hair mask to ensure your hair is well-hydrated.
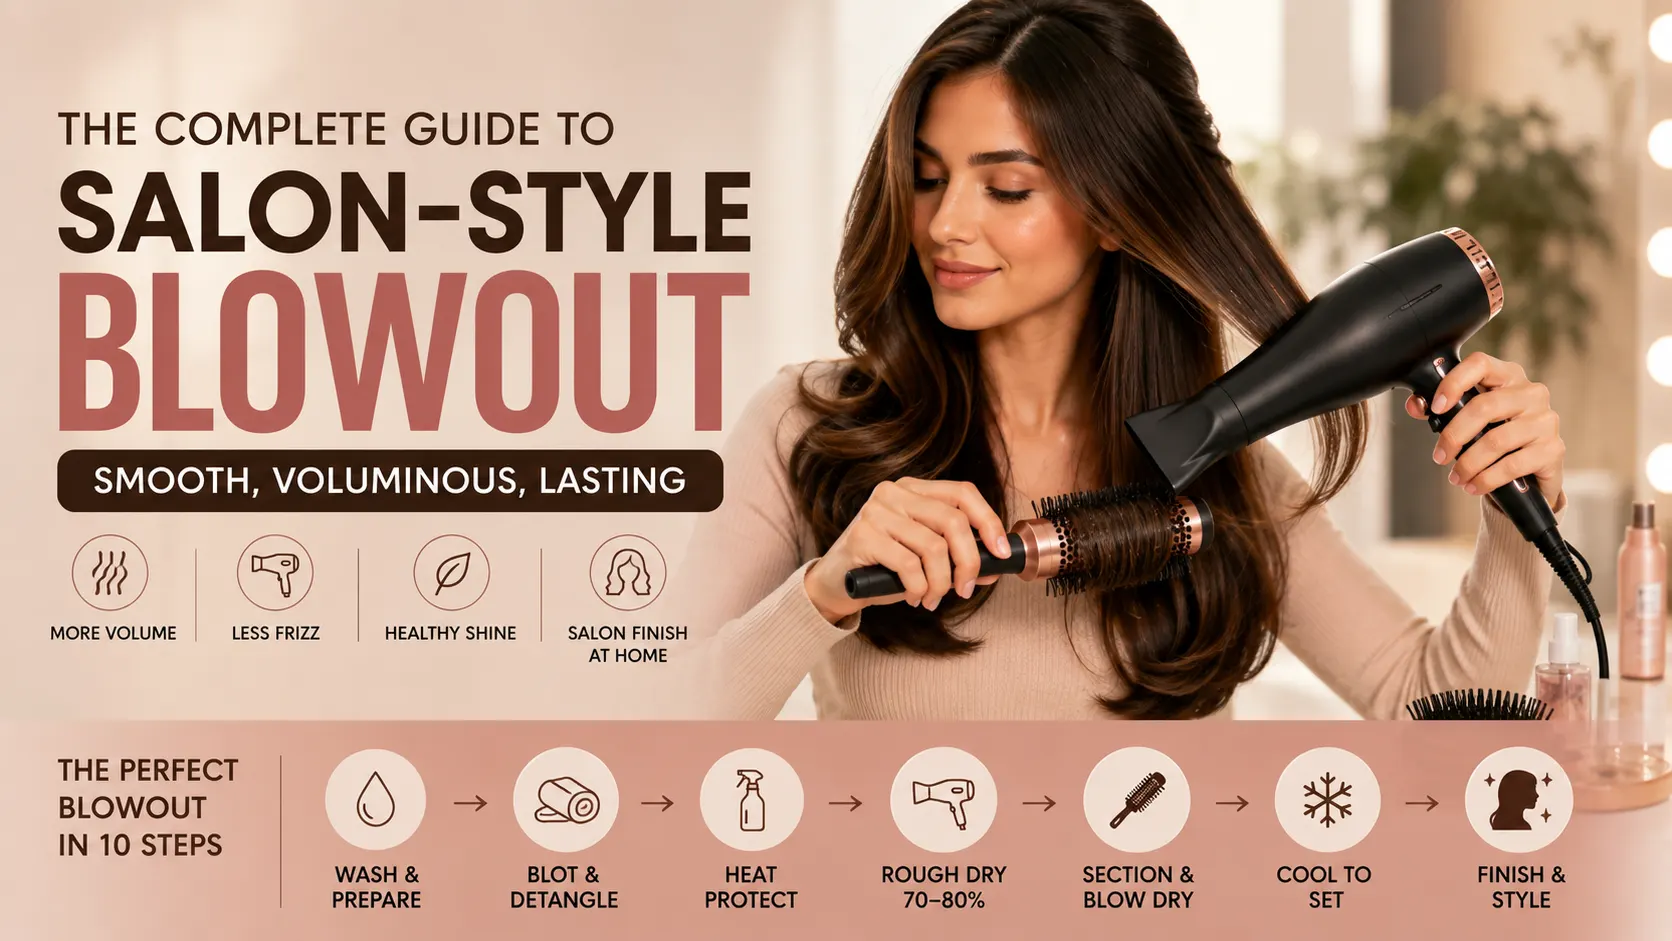
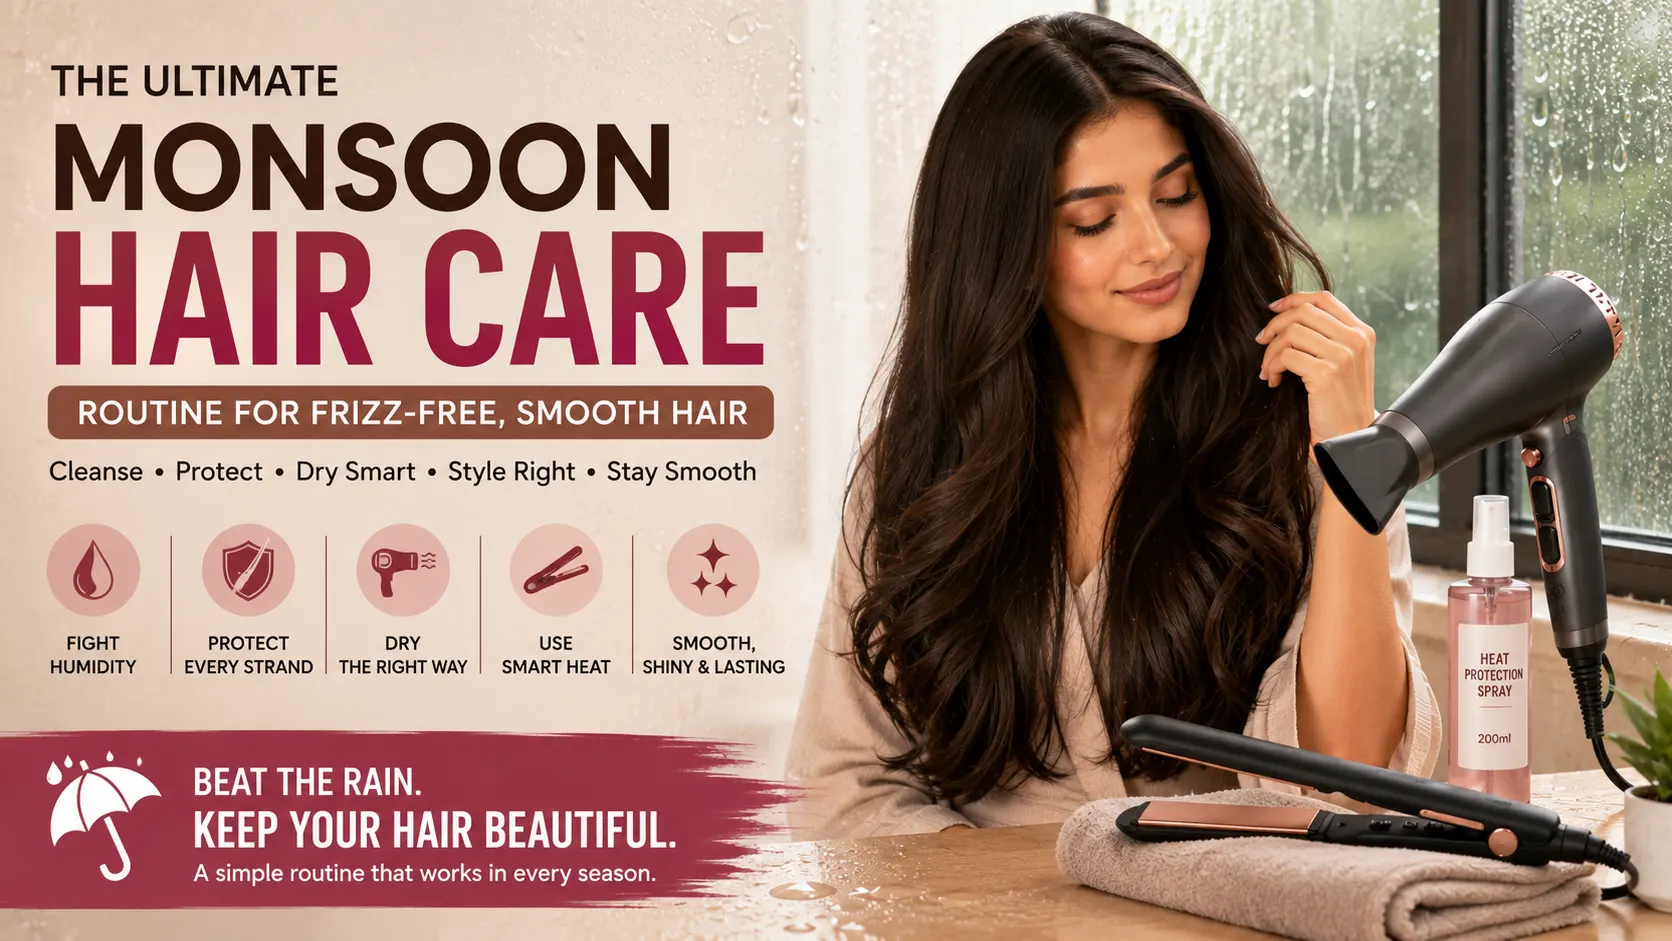
- Dry Completely: Never crimp damp or wet hair. This causes steam damage, which permanently weakens the hair shaft. Blow-dry your hair using a tool like the Beautians Airsculpt Airfinite 1300W Hair Dryer.
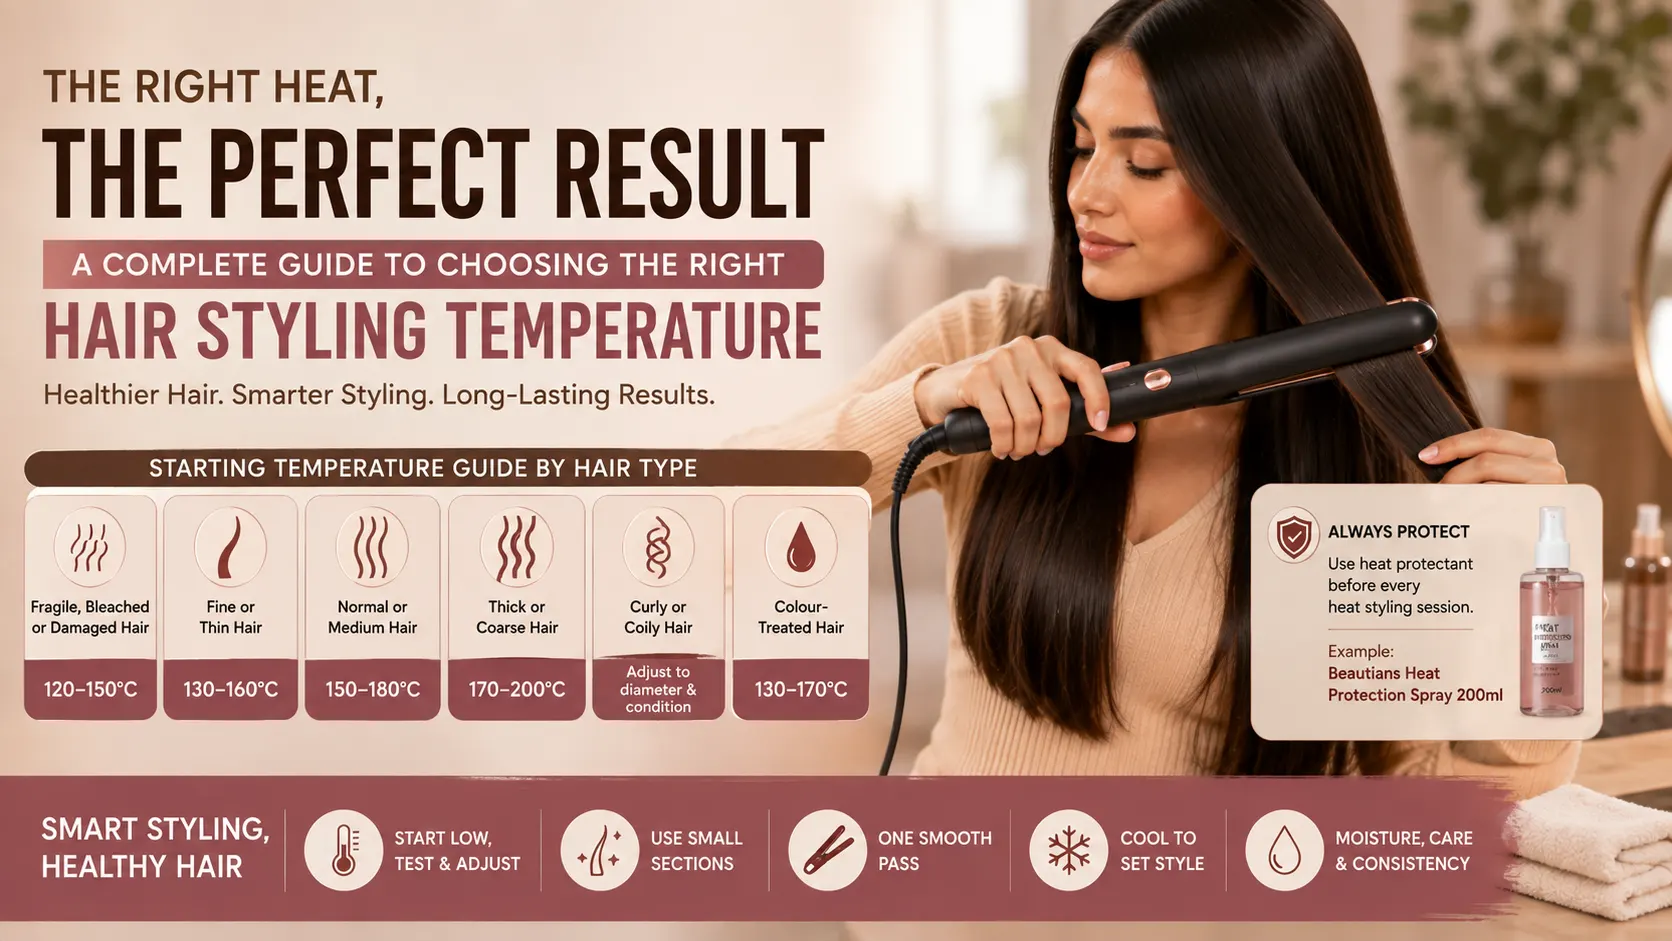
- Apply Heat Protection: Mist your hair generously with Beautians Heat Protection Spray 200ml. This creates a protective shield, seals in moisture, and helps the crimps last longer.
- Detangle: Comb through your hair to remove all knots and tangles. Crimping tangled hair results in a messy, frizzy look.
Step-by-Step Guide to Crimping Your Hair
Once your hair is prepped, follow these steps to crimp your hair using the Permperfect Multistyler 4-in-1 (with the crimping plates attached):
- Set the Temperature: Adjust the heat setting based on your hair type. Fine hair should stay below 160°C, while normal/thick hair can go up to 180°C or 200°C.
- Section Your Hair: Divide your hair into horizontal layers, starting from the bottom near the neck. Clip the rest away. Take a 1-inch section of hair.
- Clamp and Move: Place the crimping plates near the roots of the section. Clamp down firmly and hold for 2 to 3 seconds. Release the clamp, move the tool down so the top of the plates overlaps with the bottom of the crimp you just made, and clamp again. Repeat this process down to the ends of the hair.
- Let it Cool: Allow each crimped section to cool completely before touching it. Brushing or touching hot hair will ruin the definition.
5 Trendy Crimped Hairstyles to Try
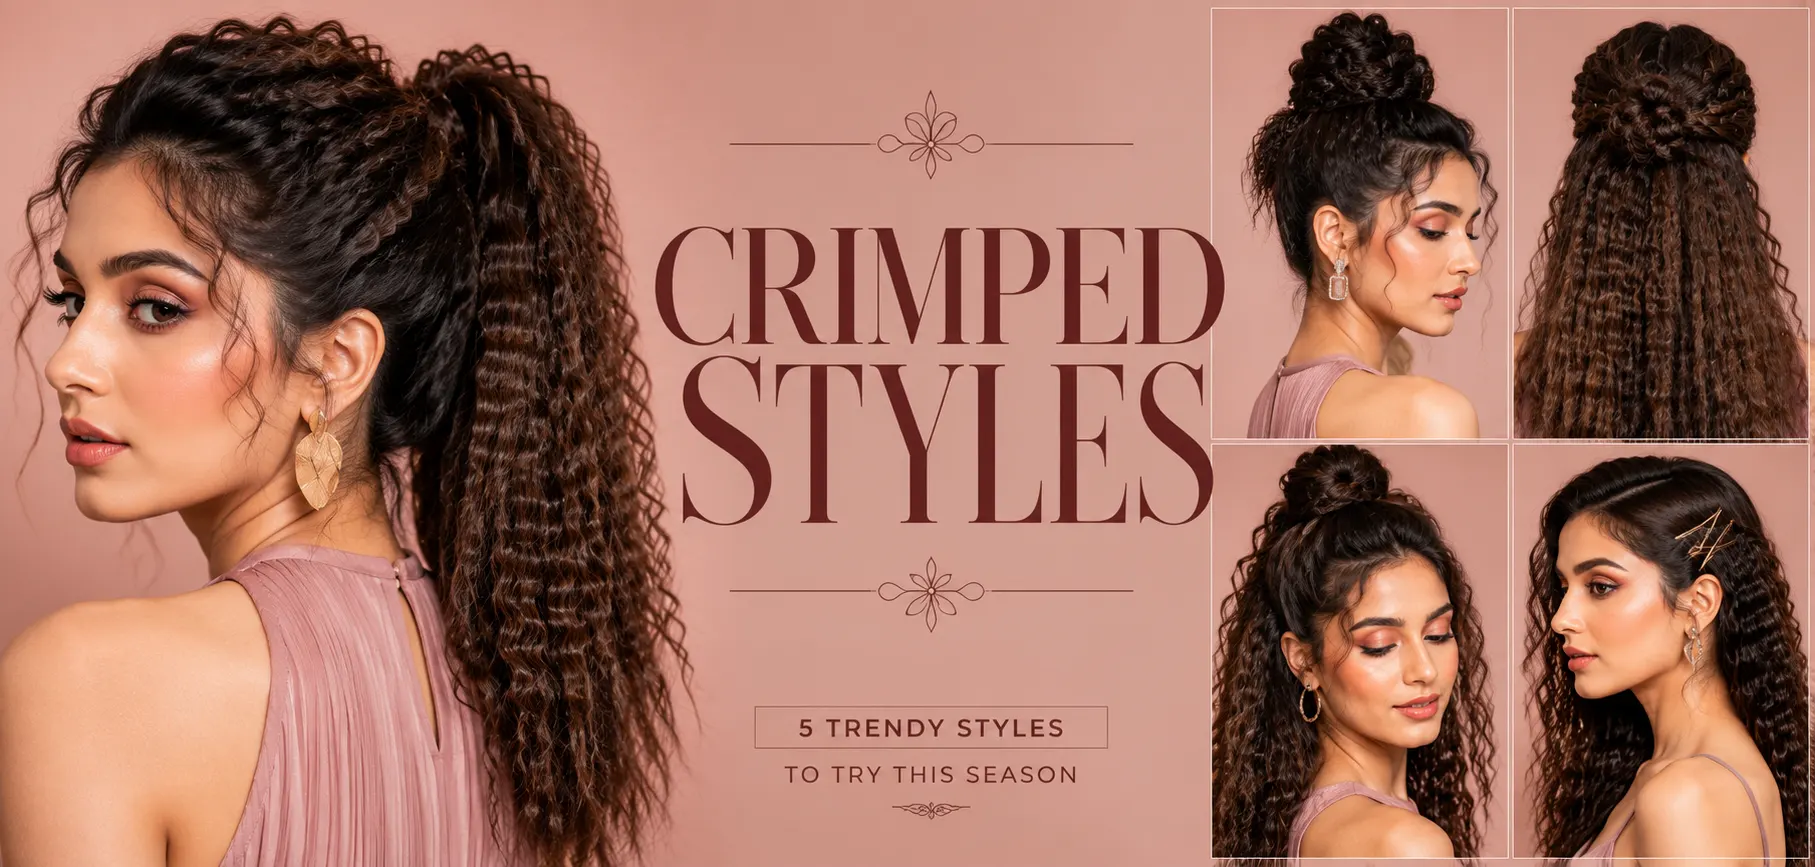
Here are 5 modern ways to style crimped hair this season:
1. Subtle Root Volume (The Invisible Lift)
This is the most popular professional styling technique. Crimp only the under-layers of your hair near the roots, then brush the top, uncrimped layer of hair over them. This creates a natural-looking lift and volume that lasts all day, perfect for fine or flat hair.
2. The Textured Half-Up Ponytail
Crimp your entire head of hair to create a voluminous, textured base. Gather the top half of your hair and secure it into a high ponytail, leaving the bottom half flowing down. The crimping adds beautiful texture to the ponytail and creates a fun, youthful look.
3. Crimped Accent Braids
If you don't want to crimp your entire head, try crimping a few thin, random sections of hair. Braid these crimped sections or incorporate them into a standard French braid. The contrast between the smooth hair and the crimped texture adds depth and interest to simple braids.
4. Full Retro Volume (The Bold Statement)
Crimp every section of your hair from roots to ends. Once cool, gently run a wide-tooth comb or your fingers through the hair to fluff it out. This creates a massive, fluffy, cloud-like volume that is perfect for theme parties, retro shoots, or high-fashion statements.
5. Textured Messy Bun
Crimp your hair before pulling it back into a high or low bun. The crimping adds grip and texture, making it easier to style a messy bun that looks full, voluminous, and effortless. It also prevents the bun from looking flat or slicked back.
Common Crimping Mistakes to Avoid
Crimping is relatively straightforward, but making these common mistakes can compromise your hair's health and the final look:
- Crimping Damp Hair: As with all heat styling, clamping a crimper onto wet or damp strands creates boiling steam that tears the hair's outer cuticle and weakens the cortex. Always ensure your hair is bone-dry.
- Holding the Clamp Too Long: Because crimping plates have ridges, it can be tempting to hold the iron clamped for 5-10 seconds to get a "sharper" pattern. This is unnecessary and will burn your hair. A firm 2 to 3-second clamp is all you need.
- Using Large Hair Sections: Taking sections that are too thick will result in only the outer layers getting texturized, leaving the middle flat. Keep sections under 1 inch wide and relatively thin.
- Brushing Out Hot Crimps: Brushing through crimped hair while it is still warm will pull out the shape and leave you with a frizzy, undefined puff. Always wait for the hair to cool.
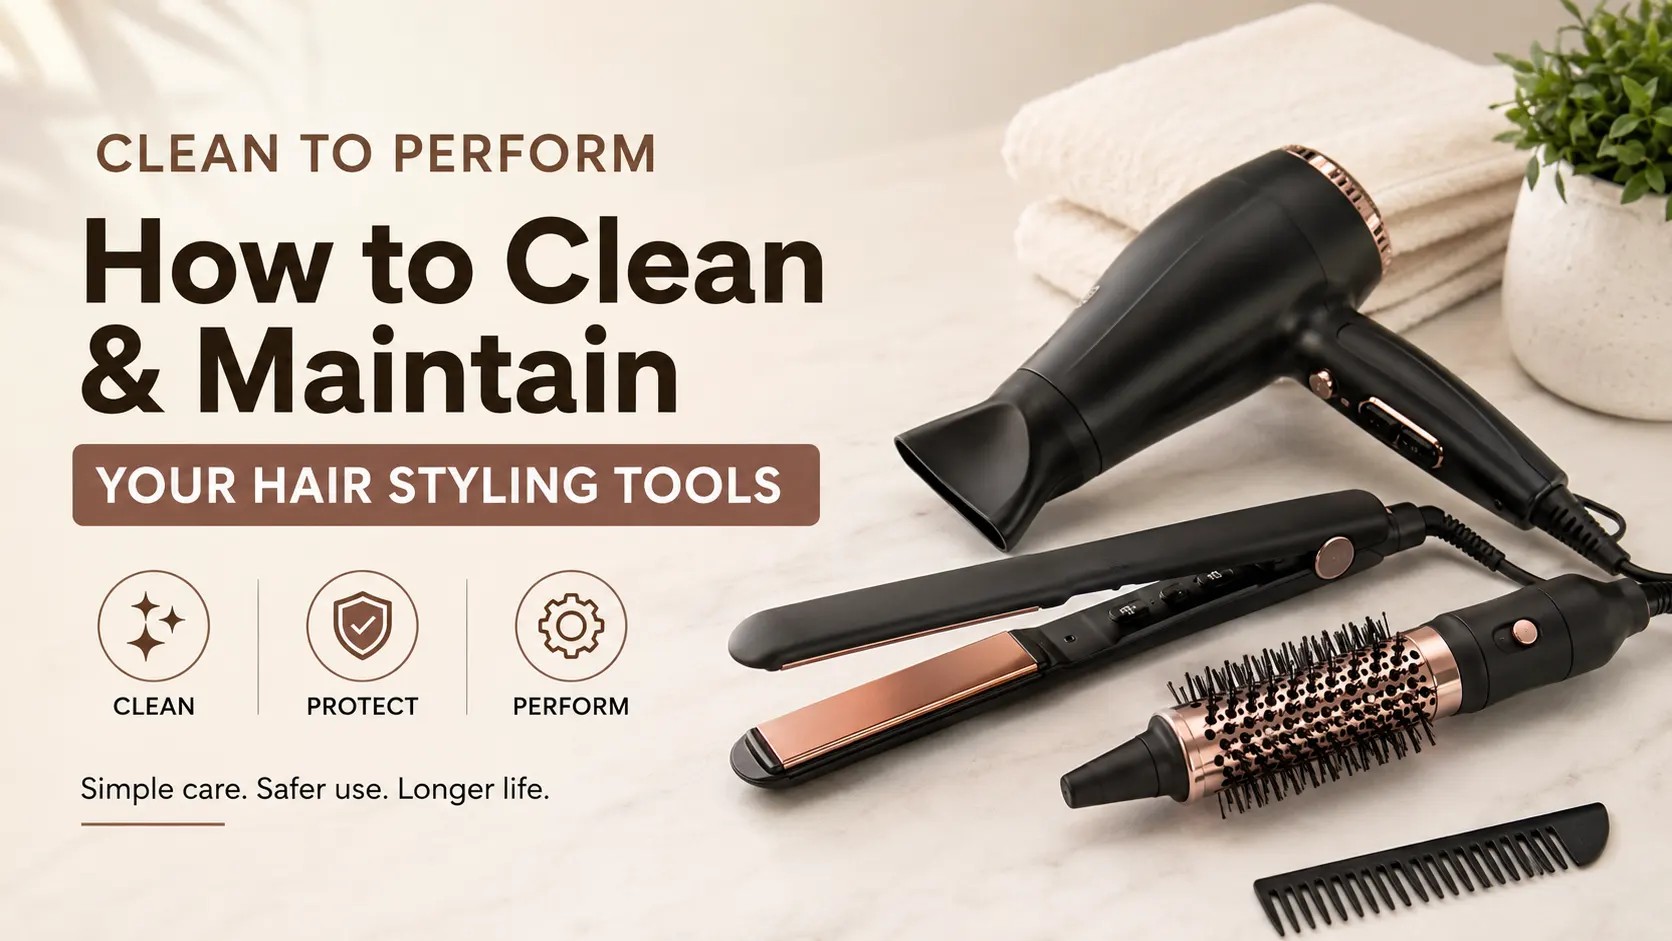
How to Clean and Maintain Your Crimper Plates
Over time, hair sprays, protectants, and natural hair oils will leave a sticky residue on your crimping plates. If not cleaned, this residue will bake onto the plates, creating a rough surface that snags your hair and conducts heat unevenly. To clean your tool safely:
- Unplug the crimper and let it cool until it is slightly warm to the touch.
- Dampen a soft microfiber cloth with water (do not use harsh chemicals, rubbing alcohol, or abrasive pads).
- Gently wipe down the ridges and plates until all buildup is removed.
- Allow the plates to dry completely before storing or using the tool again.
Conclusion
Crimping is a fun, creative styling technique that is perfect for adding volume and texture. With the Permperfect Multistyler 4-in-1 Hair Styler, you can easily transition from straight hair to curls, waves, or crimps using a single, high-quality tool. Always protect your hair from heat using Beautians Heat Protection Spray, and start experimenting with these modern, stylish looks at home!