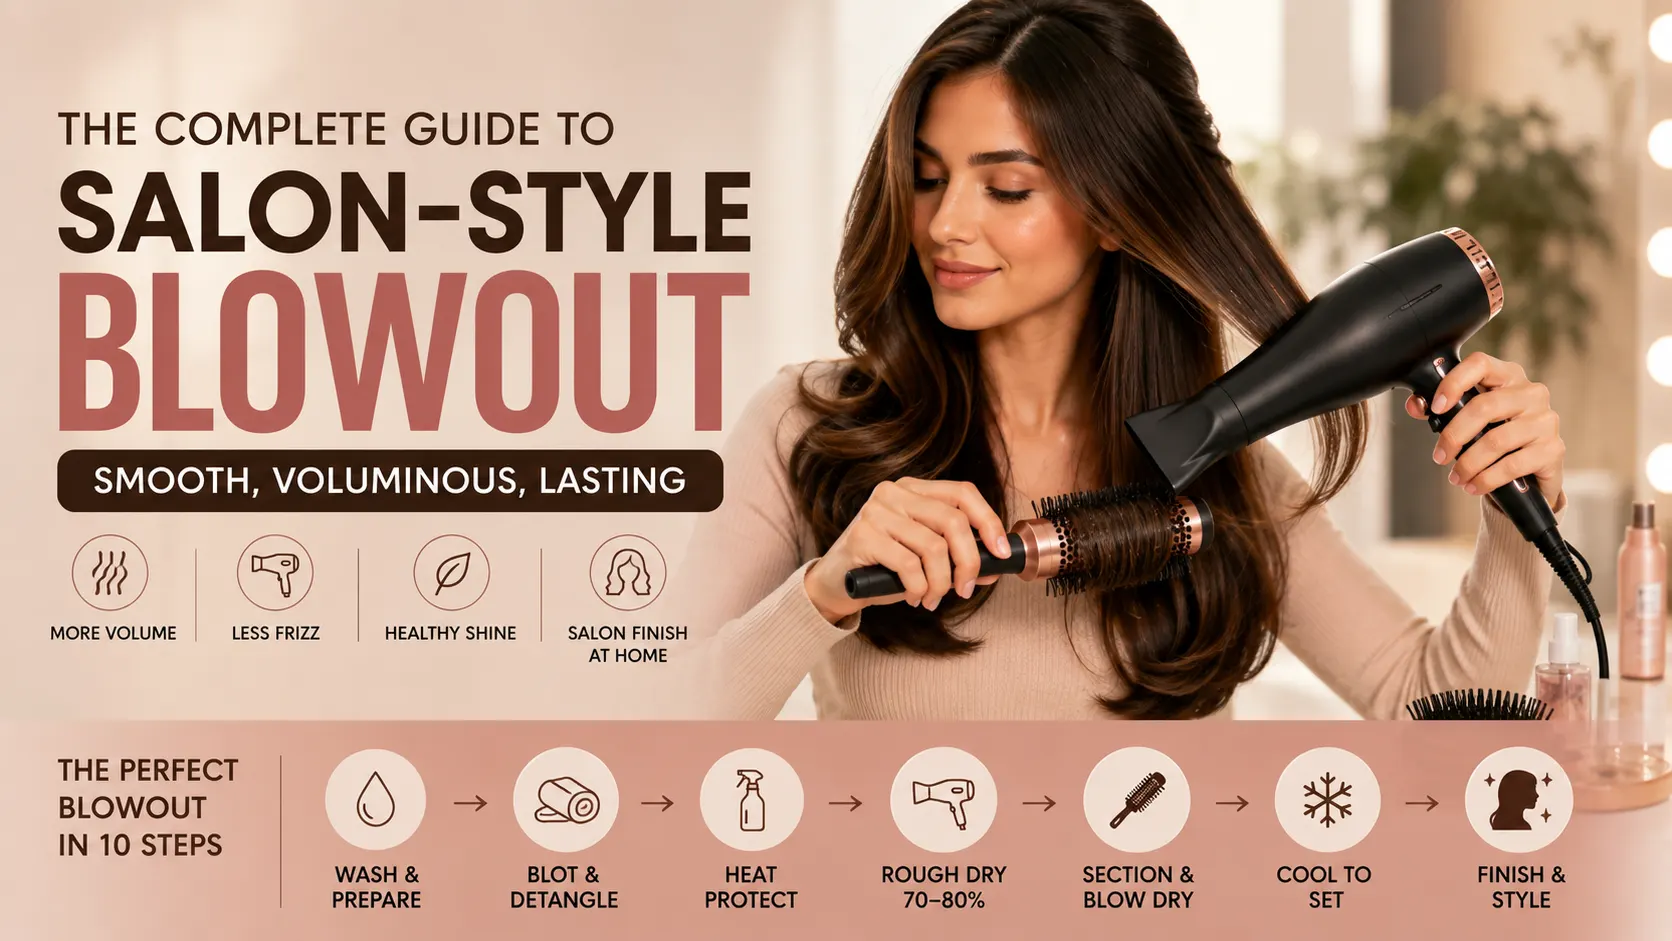
A salon-style blowout looks smooth, light, and polished while still retaining movement. The finish does not come from pointing the hottest dryer at the hair until it feels dry. It comes from preparation, sectioning, controlled airflow, brush tension, and cooling each section in its finished shape. With a repeatable method and the right dryer, you can create a professional-looking result at home without turning every wash day into a long struggle.
This guide focuses on a classic smooth blowout with soft volume. Adapt brush size, heat, and tension to your hair type. If hair is fragile, bleached, or actively breaking, use gentler settings and consider a simple dry rather than a high-tension finish.
Step 1: Wash for the Finish You Want
Clean hair is easier to lift and shape, but over-cleansing can leave the lengths rough. Massage shampoo into the scalp and allow the rinse water to carry foam through the ends. Apply conditioner from mid-length to tips, detangle gently, and rinse well. Fine hair may need a lighter conditioner, while coarse or dry hair may need more moisture.
Heavy residue at the roots can reduce volume, so avoid placing rich conditioner directly on the scalp unless the product is designed for that use. Use lukewarm water and finish the rinse thoroughly.
Step 2: Blot and Detangle
Squeeze excess water out by hand, then blot with a microfiber towel. Rubbing creates tangles and roughens the surface. Detangle from ends to roots while supporting the section with one hand. Hair is more elastic when wet, so patience now prevents broken strands later.
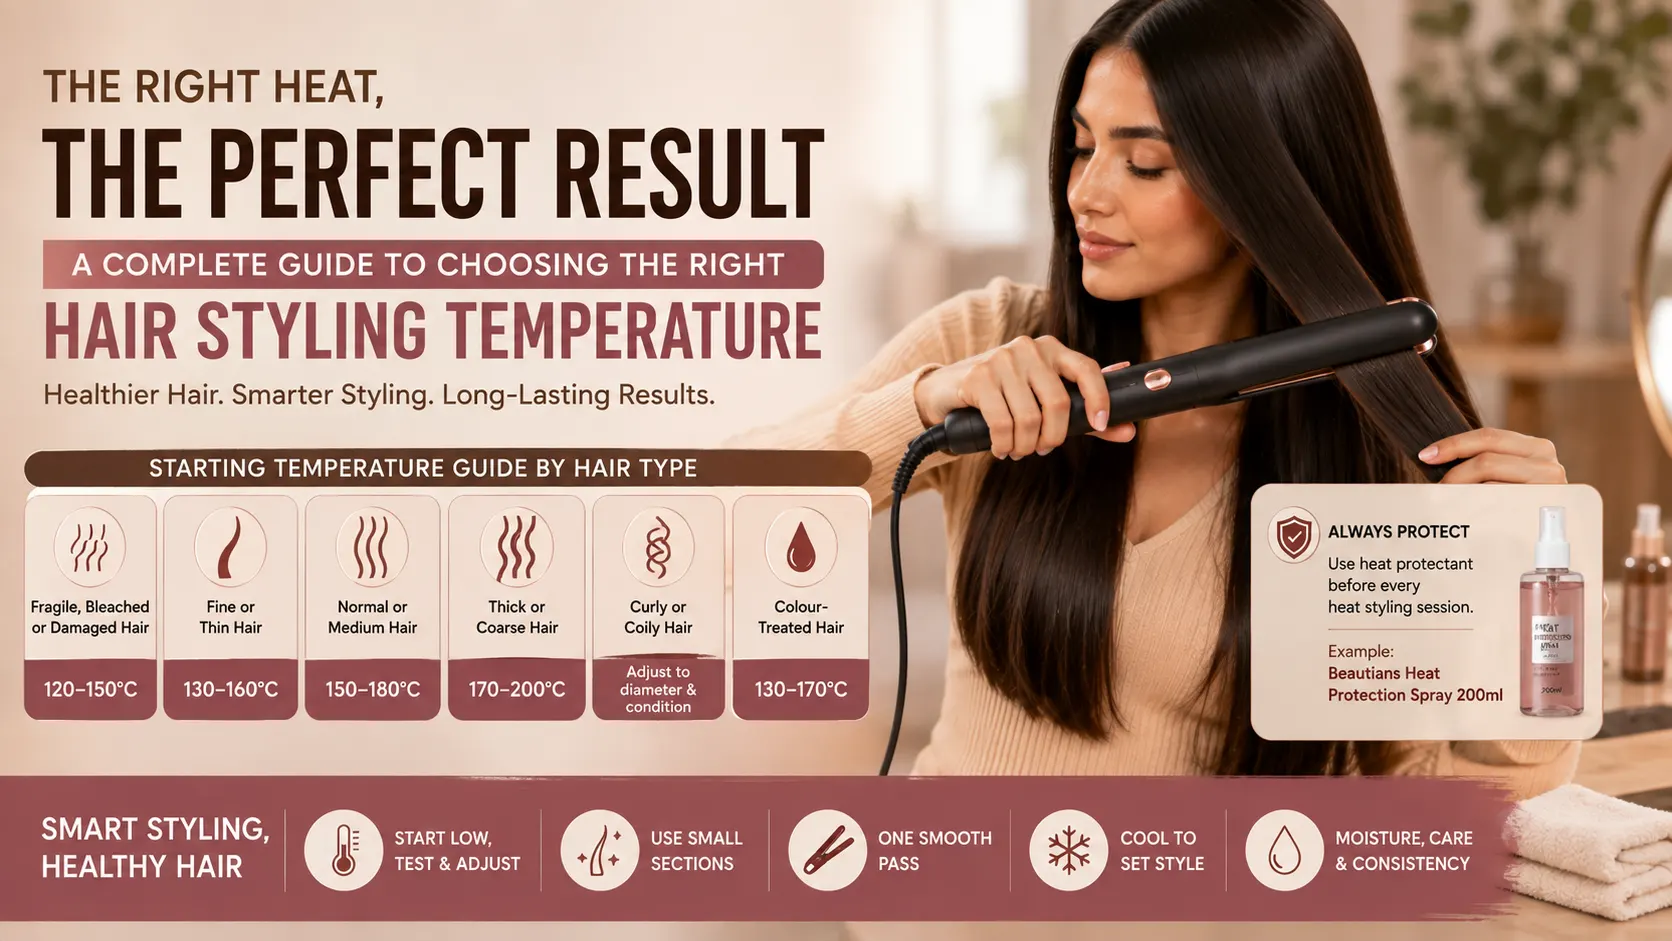
Mist Beautians Heat Protection Spray 200ml across the lengths in sections and comb through. Follow the label directions and use enough for even coverage without soaking the hair.
Step 3: Rough-Dry to About 70-80 Percent
Beginning round-brush work on dripping hair wastes time and exposes each section to heat for longer. First remove much of the moisture with your fingers and the dryer on a comfortable setting. Keep the airflow moving, lift the roots gently, and direct air down the hair shaft where possible.
The Beautians Airsculpt Airfinite 1300W Hair Dryer suits controlled everyday drying and easier handling. For long, dense, or coarse hair, the powerful Airsculpt Airfinite 2400W Hair Dryer can provide stronger airflow. Whichever model you choose, use the lowest heat and speed combination that dries efficiently.
Stop rough-drying while the hair is still slightly damp and flexible. If it becomes fully dry in a random shape, you may need to re-wet sections to reshape them, adding time and unnecessary handling.
Step 4: Create an Organized Sectioning Pattern
Divide the head into four to six zones: lower back, upper back, two sides, and crown. Clip everything except the first lower section. Within each zone, take a piece no wider than the brush barrel. A section that is too thick will be damp inside even when its surface feels hot.
Work from the lower back upward so finished hair stays away from damp sections. Around the face, use smaller pieces and a lower setting because the hairline is often finer and more fragile.
Step 5: Attach the Concentrator Nozzle
The concentrator focuses airflow so you can direct it along the brush. Keep the nozzle parallel to the strand and aim from roots toward ends. Blowing upward against the cuticle creates roughness and tangles. Do not press the nozzle directly against the brush or hair; leave a safe gap and keep the dryer moving.
Step 6: Dry the Roots First
Place the brush beneath the first section near the root, lift gently, and direct air at the root area. Good root drying creates volume and prevents the style from collapsing. Avoid pulling so hard that the scalp feels uncomfortable. The brush should provide controlled tension, not pain.
For extra lift at the crown, direct the section slightly forward or upward while drying the root. Let it cool in that elevated position before laying it back. For a flatter, sleeker result, keep the section closer to its natural fall.
Step 7: Smooth the Mid-Lengths
Move the brush and dryer together from the root toward the ends. The nozzle follows above the brush, always pointing down the strand. Maintain even tension and a steady pace. If the section is still damp, repeat with moderate heat rather than stopping the dryer on one area.
Rotate the brush slightly as it travels to keep the hair aligned. Do not wind long hair tightly around the barrel, which can cause tangling. Practice the coordination with the dryer switched off if holding both tools feels difficult.
Step 8: Shape and Protect the Ends
The ends are older and often more porous, so they need less exposure. Once the mid-length is smooth, roll the last few inches around the brush and curve inward, outward, or straight according to the desired finish. Use brief heat, then cool the shape before releasing it.
If ends look fluffy, use a smaller section and align the airflow rather than increasing to maximum heat. Regular trims also help when split ends no longer sit smoothly.
Step 9: Cool Every Section
Heat makes hair flexible; cooling helps it retain the new shape. After the section is dry, use cooler air while it remains on the brush. Release it carefully and avoid combing immediately. For more bounce, roll the warm section loosely and clip it until cool.
Continue around the head, checking that previous sections do not become damp from wet hair. Spend time on the crown and face frame, which have the greatest visual impact.
Step 10: Finish Without Flattening
When every section is cool, loosen the shape with your fingers or a wide-tooth comb. Apply one or two drops of lightweight serum to the ends if needed. Mist flexible hold from a distance. Heavy oil or too much spray can remove movement and make fresh roots look greasy.
Common Blowout Mistakes
Starting when hair is soaking wet, skipping the nozzle, using sections larger than the brush, aiming air upward, and omitting the cooling stage are common reasons a blowout becomes frizzy or falls flat. Another mistake is turning up heat when better sectioning would solve the problem. Review the method before increasing temperature.
Frequently Asked Questions
Can I use a straightener after the blowout?
Yes, but only when hair is completely dry. Correct only the sections that need extra smoothing, apply protection as directed, and use the lowest effective setting to avoid unnecessary double exposure.
How can I make the result last overnight?
Let hair cool fully, sleep on a smooth pillowcase, and gather long hair in a loose wrap or high soft ponytail without tight tension. Protect it from bathroom steam and avoid heavy product at the roots.
Final Thoughts
A polished blowout is a sequence, not a blast of heat. Prepare and protect the hair, remove most moisture first, work in sections, direct airflow downward, coordinate the brush and nozzle, and cool each finished piece. With regular practice and a suitable Beautians Airsculpt dryer, the technique becomes quicker, gentler, and more consistent, giving you smooth movement and salon-inspired volume at home. Record brush size and settings so your next blowout becomes much faster and more predictable from the start.