Begin with the job rather than the collection
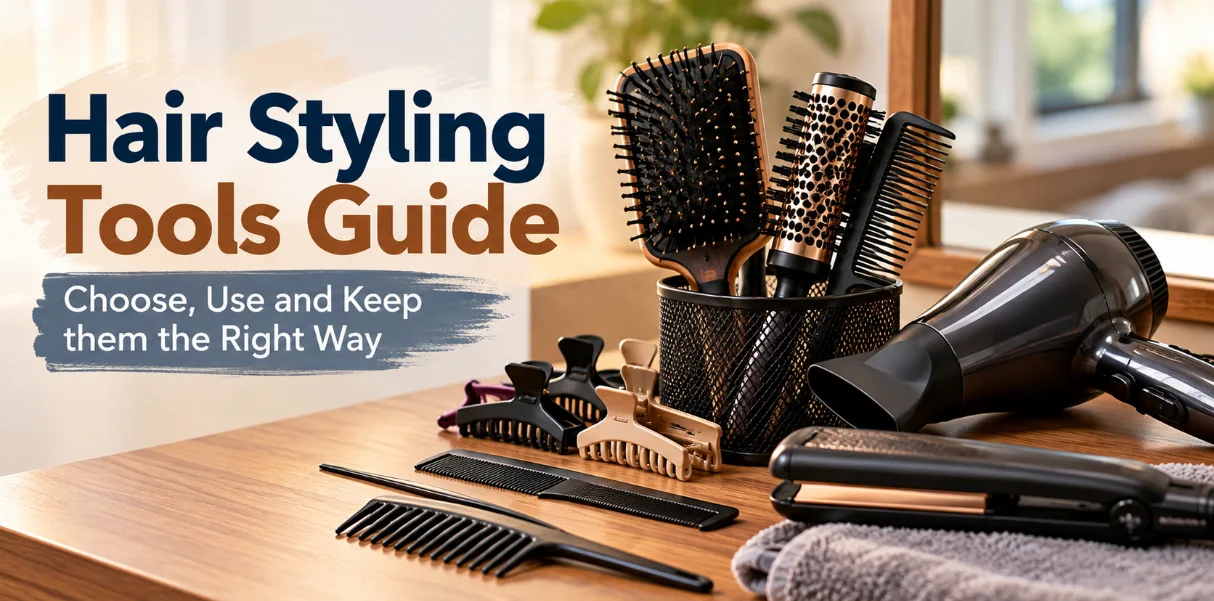
A drawer full of brushes does not automatically make hair easier to style. Start with the jobs you need to perform: removing tangles, forming a parting, controlling a section during drying, or smoothing a finished shape. Look at the tools you already own and identify which job each one handles comfortably. An item that catches, feels awkward to hold, or makes the section too large may be wrong for that task even if it is popular. A small working set becomes more useful when every piece has a clear purpose.
Choose a comb you can control
A comb should pass through the intended section without being forced. Wider spacing can help you work through loose tangles, while a finer tool may be useful for a precise parting or a small finishing task. These jobs are different, so do not insist on using the same comb for both. Hold the tool lightly and notice whether its edge scratches or catches. Check the teeth for damage before each use. A broken tooth can turn an ordinary sectioning step into unnecessary pulling, particularly around the nape or behind the ears.
Match the brush shape to your technique
A broad brush and a round brush handle hair differently. Consider how you will position your hand, whether the section can wrap comfortably, and how easily you can release it. Practise without a hot tool first so you understand the movement. Do not wind a long section tightly around a small brush merely because a tutorial demonstrates it quickly. Your length, density, and skill change the practical task. The right choice is the brush that supports a movement you can repeat without tangles, excessive tension, or a difficult release.
Use clips to protect the sequence
Sectioning clips are most helpful when they keep unworked hair away from the current section. Divide the head into a few clear zones and secure them so the clip is comfortable and visible. Avoid placing it where the dryer or brush will keep striking it. If the clip cannot hold the amount of hair, split that zone rather than clamping harder. Release one manageable part at a time. A consistent order, such as back sections followed by sides and crown, helps you notice unfinished areas before everything is mixed together.
Check the hidden areas
The visible front can look tidy while the lower back remains damp, tangled, or uneven. Use a second mirror or a photograph to inspect the nape and the area behind each ear. Keep those zones separate long enough to finish them deliberately. If you repeatedly miss the same area, change the sectioning map rather than buying a more powerful tool. A wider clip position or a smaller lower section may be enough. Learning where your routine loses control gives you a more specific solution than simply working longer on the whole head.
Reduce the setup to a repeatable set
Once you know which tools help, place them together in the order you use them. Keep one comb for preparation, the brush for your chosen technique, and enough clips to divide the zones. Store occasional tools elsewhere so they do not clutter the main surface. Check the setup by completing a normal routine without searching through drawers. If a tool is never needed, remove it from the daily set. A practical arrangement should make the first few minutes feel straightforward and leave the workspace easy to clean when the session ends.
Adapt the method for dense hair
A large amount of hair needs a workable plan more than it needs a crowded collection of products. Divide the back, sides, and crown into separate zones before starting. Clip away the zones you are not using so their strands cannot fall into your working section. Choose section sizes that your brush or tool can actually control. If drying takes longer than expected, allow more preparation time rather than skipping the hidden layers. Check the nape and the area behind each ear before declaring the job finished. A tidy sequence often saves more time than moving randomly between parts of the head.
Remove knots with a manageable sequence
Separate the hair into sections small enough to handle comfortably. Support the section above a knot so the effort does not pull directly on the scalp. Work through the ends first, then move gradually upward as each area becomes easier to comb. Use a comb or brush that suits your texture and follow any product instructions about wet or dry use. If a knot will not loosen, pause and isolate it with your fingers instead of forcing a tool through it. A patient approach is particularly useful after travel, celebrations, or wearing accessories. Finish by checking the nape, where tangles can remain out of sight.
Keep the tools ready for the next use
Switch electrical tools off, unplug them, and allow them to cool before cleaning or storage. Follow the manufacturer's instructions for plates, barrels, removable filters, and attachments; different finishes may need different care. Do not immerse an electrical tool or spray liquid into its body. Remove loose hair from brushes and inspect clips for rough edges. Keep cords loosely arranged so they are not trapped under heavy items or sharply bent at the connection. If a tool develops a damaged cord, unusual smell, or unreliable operation, stop using it and seek appropriate service. A brief check while putting things away prevents a rushed discovery later.
Give the routine a practical home
Keep daily items where they can be reached without moving hot tools or stretching a cord across the room. Store clean accessories together and separate them from items that need cleaning or repair. Provide a suitable cooling surface for electrical tools, following their instructions, and keep the area dry. Make sure younger family members cannot reach a hot tool. Put rarely used attachments elsewhere so the daily workspace remains easy to navigate. A small tray or labelled pouch can be enough. The goal is to remove friction from the routine, making safe setup and careful storage as convenient as the styling itself.
Spend on a clear improvement
Before adding a purchase, identify the step that is currently awkward. A missing sectioning clip, an unsuitable brush shape, or an unreliable switch are different problems and require different solutions. Compare the intended use, handling, care instructions, seller details, and warranty information available at the time you buy. A higher price does not automatically make a tool more suitable for your routine. Consider whether you can try the grip or understand the controls before committing. Avoid buying several overlapping items because one demonstration looked convincing. One well chosen addition is easier to evaluate, store, and maintain than a collection that you rarely use.
Try the change before an important day
A quiet practice session tells you more than a rushed attempt before leaving home. Use the same mirror, tools, and preparation that you expect to use later. Time the entire process, including drying, sectioning, cooling, and putting things away. Photograph the finished result in ordinary room light and again after your usual journey. Write down the steps that mattered and the steps that made little difference. Change one detail at the next attempt so you can identify what helped. A successful trial should leave enough time for breakfast, getting dressed, and a calm departure, rather than consuming every spare minute.
Create a version for busy mornings
Choose one part of the look that makes the biggest difference to you. It might be a neat fringe, an even parting, or controlled ends around the face. Make that your priority when time is short. Arrange the rest with a simple style that you already know how to finish. Keep the necessary tools together so you do not spend the first few minutes looking for clips or attachments. Avoid introducing an unfamiliar method when departure is close. A shortened routine should be a planned option with a clear stopping point, not a hurried attempt to squeeze every step into half the usual time.